The Step-By-Step Process to Securing Your Website Communications by Installing an SSL Certificate on cPanel
You can never put a price on security. Feeling safe and secure is one the most basic necessities of life. It’s something that should never be taken for granted nor undervalued. You should have that same mentality towards cybersecurity. The varieties of danger you can find yourself in via poor cybersecurity is astounding.
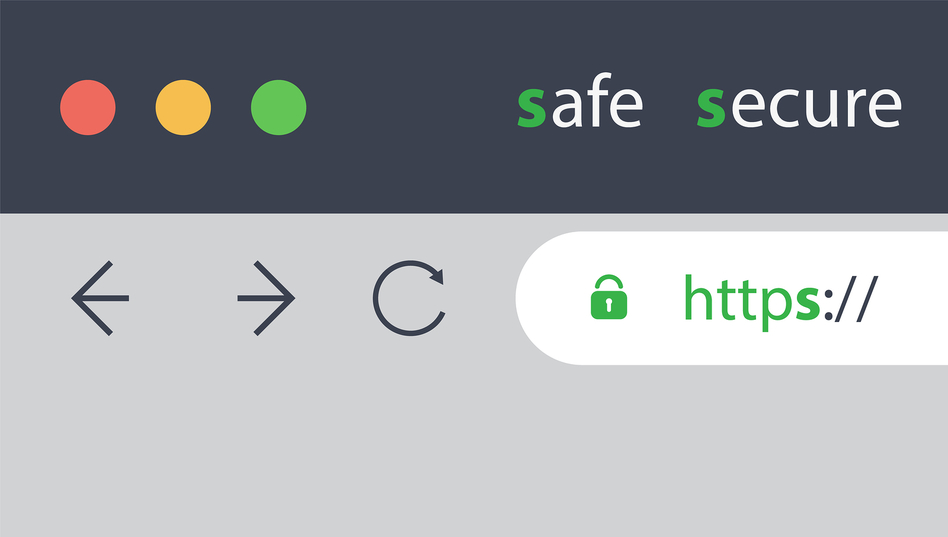
One of the most common and trusted cybersecurity tools is the SSL certificate. And for good reason. It uses the combination of encryption and authentication to ensure all data in transit cannot be intercepted. This prevents cybercriminals from obtaining sensitive information about you and the users that visit your website.
When you’re ready to add that padlock to your URL and become a secure website with an SSL certificate, there is a standard process to acquiring and installing one. It’s important to know these steps to ensure the installation is done properly and there aren’t any hiccups that will cause you time and money down the road.
The process varies a bit among hosting platforms. Our guide below is based on cPanel, which is the most popular web hosting control panel. Check out the 6-step process on how to install an SSL certificate on cPanel:
How to Install an SSL Certificate on cPanel – Step 1 (Purchasing an SSL Certificate)
There are various options, price points and authentication levels to choose from. Sometimes it can be a bit overwhelming but ultimately, they’ll all encrypt your communications. A few key items not to overlook – I recommend going with paid option over a free option. Free SSL certificates are often used by cybercriminals to give off the image of trust. The paid option is worth it in the long run.
I’d also make sure to use a reputable website when shopping for an SSL certificate. There are many good ones out there. For this tutorial, we’ve used ComodoSSLstore.com as the example SSL provider. Once you find an option you want to purchase, you’ll follow the purchasing instructions given by your SSL provider. Once you’ve gone through the billing process, you will reach a point where you are asked to click a button that says something along the lines of “Generate Cert Now.”
At this point you’ll head over to your web hosting provider’s website/dashboard, which would be cPanel in this case, for the CSR generation process.
How to Install an SSL Certificate on cPanel – Step 2 (CSR Generation)
The CSR generation process is a very important step. There is an SSL handshake that involves the client (web browser) and server essentially communicating and agreeing to encrypt the data in transit. To perform the handshake, the client needs a public key and the server needs a private key. These keys ensure that only the correct people have the ability to decrypt the message being sent. The CSR generation process is where these keys will be created. Like I said, it’s important.
CSR Generation Quick Guide
-Log In to Your Web Hosting Dashboard
-Navigate to Your Web Hosting Homepage
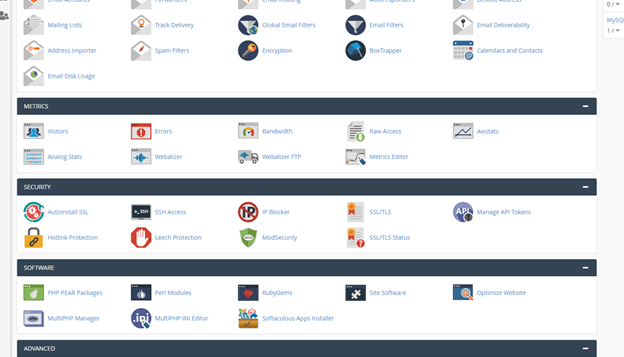
-Find the SSL/TLS Manager
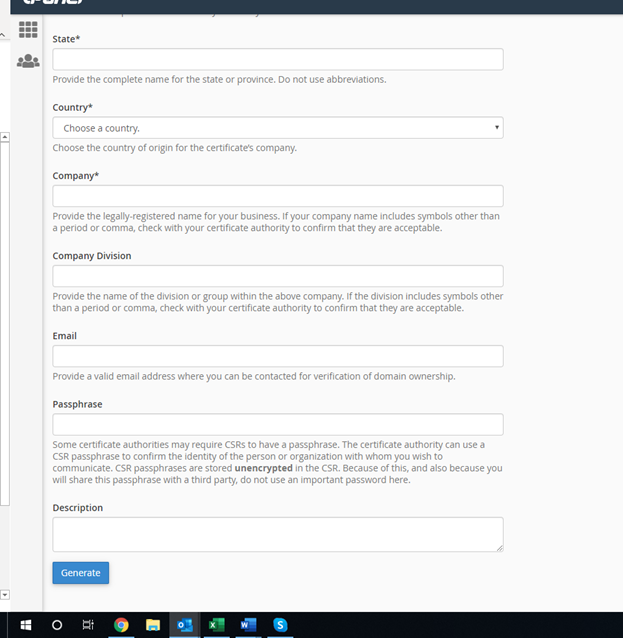
-Select “Certificate Signing Request (CSR)”
-Fill Out Form and Click “Generate”
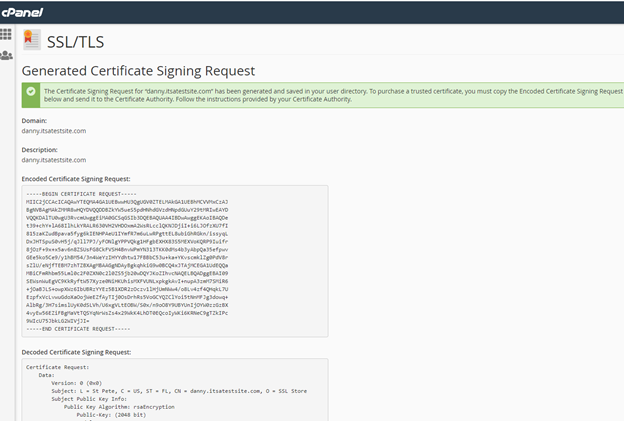
-Copy All Text Inside the “Encoded Certificate Signing Request” Text Box
How to Install an SSL Certificate on cPanel – Step 3 (Fill Out the Issuance/Enrollment Form)
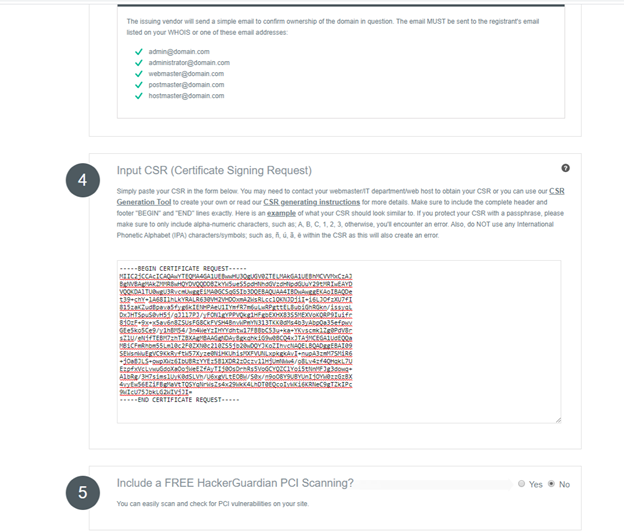
In this step you will return to your SSL provider’s purchasing page and select “Generate Cert Now.” You’ll be asked a few straightforward questions, such as if it’s a new SSL certificate or a renewal, what’s your type of server, etc. The most important thing to do here is to paste your encoded certificate signing request copy into the “Input CSR” text box.
From here you’ll verify your details and complete the process. Make sure to double check your information and save your order number. When installing an SSL certificate on cPanel, it’s very important to double check all your details because any errors could cause you to have to repeat the process over.
How to Install an SSL Certificate on cPanel – Step 4 (Validation)
The validation process ensures that the customers buying SSL certificates are validated as the person they claim to be. The extensiveness of this process is based on which validation level you select. The levels are domain validation (DV), organization validation (OV) and Extended Validation (EV).
The example below is based on the DV process, which is the most basic. The Site Admin will receive an email from the CA, which will include a validation code.

You’ll enter the validation code at the link provided in the email and you’re all set with this step (as mentioned before, an OV or EV process will more extensive).
How to Install an SSL Certificate on cPanel – Step 5 (Certificate Issuance)
You’re CA will then issue the SSL certificate to you. It is typically delivered via email, which is secure because your certificate does not include the private key. You can usually download your certificate from your account page on your SSL provider’s website as well.
How to Install an SSL Certificate on cPanel – Step 6 (Installation)
Alright, the time has now come install your shiny, new SSL certificate. You’ll follow the same first few steps of the process again – logging into your dashboard and finding/clicking on the SSL/TLS Manager.
Once you do this, you’ll select “Install and Manage SSL for your site (HTTPS).” Then you’ll select the domain you’re securing. After this you will copy the appropriate sections from your certificate file you received via email and then paste them into the corresponding text boxes.

- Certificate: (CRT) – The text for this box should be found directly in the body of the same email your SSL certificate was sent in.
- Private Key (KEY) – You can try clicking the “Autofill by Certificate” button. If that doesn’t work, you can find your private key in your SSL/TLS Manager via the “Private Keys” section.
- Certificate Authority Bundle: (CABUNDLE) – The code for this section can be found in the attachment you receive in the same email your SSL certificate was sent in.
The text boxes will give an error message in red text if you don’t have the correct code. Once everything is filled out, click “Install Certificate” and you’re done. Success! You’ve installed an SSL certificate on cPanel! You now have a customer-friendly, secure website.
If you need help with this process, many of the websites we’ve linked to in this article offer an installation assistance service for a reasonable fee. They also have excellent customer service support teams.
There you have it, how to install an SSL certificate on cPanel. Good luck and we hope you enjoy your upgrade in cybersecurity.


